The application of the resin demands very careful attention. I was using fast hardener in the middle of summer on days when the temperature was reaching 24°C. This meant mixing no more than 30ml at a time and working quickly because there was a maximum time of 10 to 15 minutes for application before the resin started setting.
The first stage was to mix thick filler and apply small fillets to serve as “tacks” inside and out to secure the plywood edges of the bottom and side sections. This allowed the stitching wires to be removed before taping.
After removing the wires, I scored and roughened the interior areas where tape would be applied, and then applied a first resin coat to seal the plywood.
I made sure to wear disposable gloves AT ALL TIMES when handling resin and hardener. I also ensured my glasses were secured around my head with a cord so they couldn’t slip off, resin cannot be removed from plastic lenses!
Tape was cut to the approximate length for each joint, resin applied to the wood and the tape laid on a section at a time. A flat brush was used to stipple the resin through the tape. An excess of resin will allow the tape to float about on the surface and my first couple of attempts ended in a slithery mess that dried with lots of bumps. After more practice, I applied less resin and things were easier. The tape should be clear once stippled and dried although the weave will still show, apply another coat of resin as soon as the first coat has set to fill the weave.
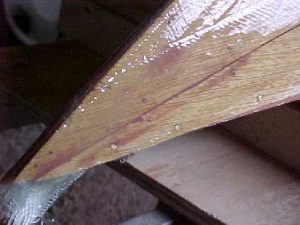
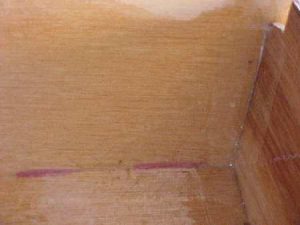
This picture below shows simple filler/resin tacks designed to hold the panels I put these inside and out so that I could remove the stitching wires before Taping.
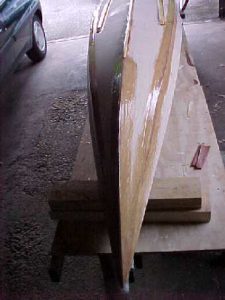
Here is the bow after taping (below), the excess tape needs to be trimmed away before the deck is fitted. I used some resin/filler mix to fair in the gap before taping to give a smoother surface.
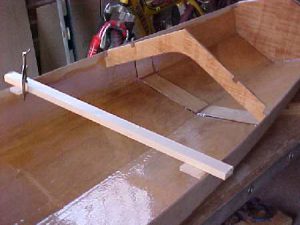
View looking forwards (below) with the inside complete and the cockpit frame in place. Note the use of the wooden bar to hold the correct hull width whilst taping.
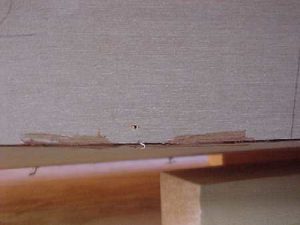
Rear bulkhead showing the taping to the side panel (below). This was very carefully sealed so that it would become a waterproof bulkhead when complete. The buoyancy system relies on waterproof compartments at the bow and stern to support the hull if it fills with water.
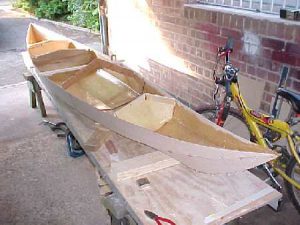
All internal taping finished (below) and the hull ready to turn for external tapes to be applied over the joints. Also to be fitted were the deck support beams around the cockpit area.
After all was dry, the hull was turned over and the areas around the seams roughened to provide a good “key” for the tape and resin. Taping was the same process as internally and on completion the hull was fitted with a wooden keel and rubbing strips to protect the bottom ply panels.